ShopDreamUp AI ArtDreamUp
Deviation Actions
It has come to my attention that there are plenty of people wanting to create titlecards for Death Battle nowadays. For those of you who don't know what a titlecard is, it is basically the banner for a particular Death Battle. There are many to accomplish this, such as using Microsoft Powerpoint, Paint.net, Photoshop, etc. However, I will explain how to make titlecards with the program GIMP, a free Photoshop clone that you can get here: www.gimp.org/downloads/
Alright, time to get some obvious things out of the way:
1. You need to use a computer or laptop. As far as I know, there is no way to make titlecards with a phone, tablet, or gaming console.
2. You need to download GIMP.
3. You need to get some pictures.
4. You need to get one of the many DB templates.
Now, we'll start with a basic template, which is from .
.
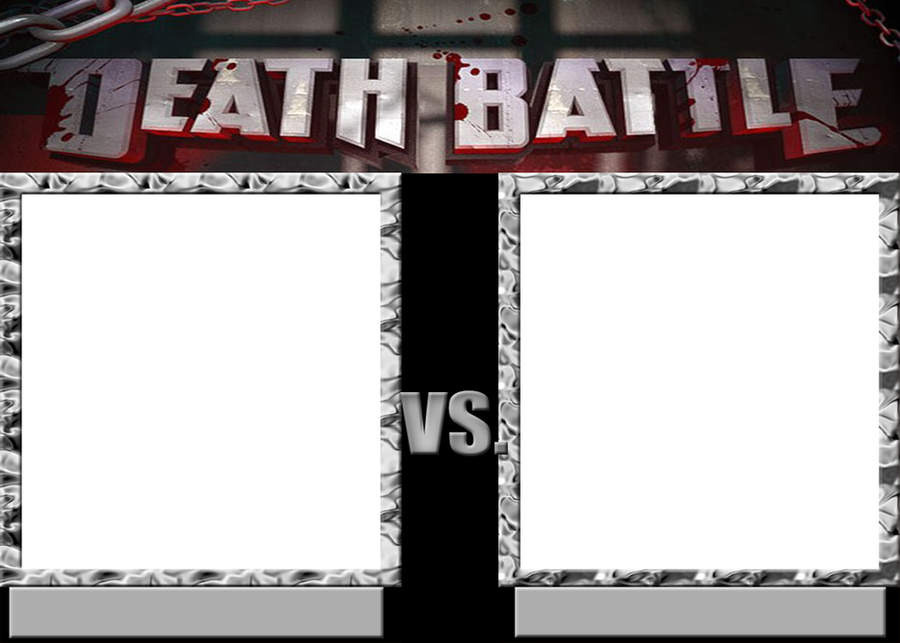
First, you need to measure the empty white spaces (which should be 359 width x 375 height) and use the square select tool (which can be accessed by pressing "R" on your keyboard or by going to your toolbox and pressing the "Square Select" icon. The toolbox can be opened by pressing "CTRL+B" on your keyboard) to highlight the white area. Next, copy the area by right-clicking and selecting "copy" before closing the template. After that, paste the area onto the empty canvas. Finally, go to the file tab in the upper left corner and scroll down to "Export As" in order to save your area.
Onto the important part. In order to make pictures fit into the white box area, you need to open up your photos in GIMP. Once they are opened, go to the image tab and use the "Scale Image" function to resize your picture and the "Canvas Size" function to properly make the 359 x 375 size. After the picture looks right, go to "Export" in the file tab to save your picture's state.
The last part of this method is to make the pictures appear on the template. In order to do this, open up the same template and then go to the file tab to get to "Open as Layers". This allows the combatant pictures to be on top of the template. Once they are on, use the "Move" function (Press "M" for easy access) to place your combatants in the right spot. With everything done, make sure to go to the file tab and use "Export As" to save your photo.
The same steps can be used for's 3-man template and big template; the pre-battle template, and the winner template, which are shown below:
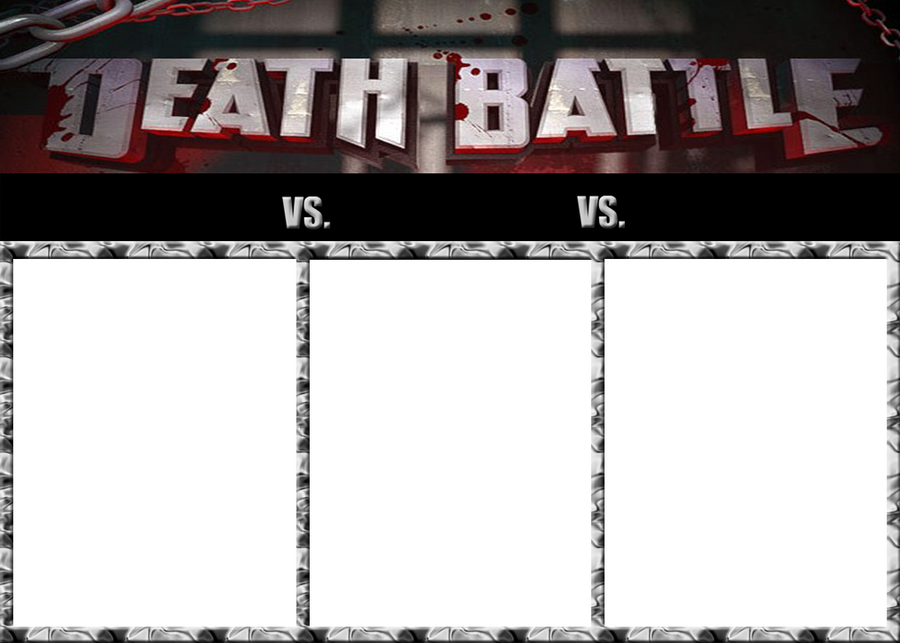

Next, I'll cover the more recent templates, which all use the same steps for each other.

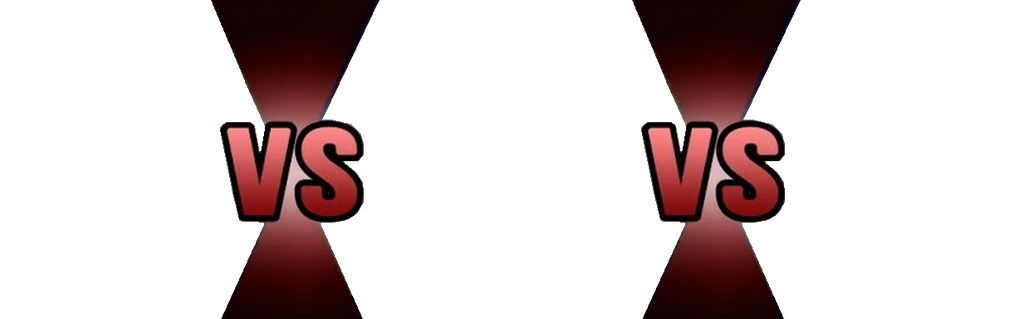
To do these are pretty simple. Just use most of the same steps for the previous templates, except the measurements are different and both sides of the "VS" portion need to be accounted for. To do this, open up a regular 1v1 template. You need to measure half of the template's width and its full height by using the square select tool and highlighting from a corner of the template. Then, copy the area and close the template. Paste the area onto the blank canvas and use the "Export As" function. Now, do it again for the other side of template. It's recommended you name the area "Part 1" when copying the area for the "V" and the second area "Part 2" when copying the "S" area.
For combatants, you need to take the measurements of the half-areas and apply them to the picture. After sizing the picture appropriately, use "Open as Layers" in order to put a half-area over the combatant (Note: you may need to adjust the combatant photo itself to get a better position).
Finally, open a template, use "Open as Layers" to get both half-areas onto the template, then move them into position.
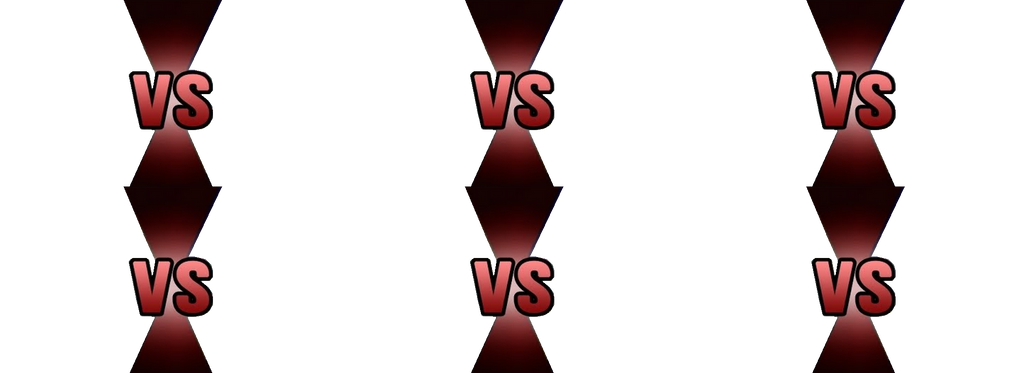
Now, for the multi-combatant templates, one may need to measure the width and height of the middle portions, but it's not as hard as it sounds. Just simply highlight the top middle area of one of the "VS" and use that to scroll to a satisfactory length that goes into the next "V".
TIME FOR EXTRA TIPS
1. If you want a background behind a combatant or for the area for a template, you need to get pictures for a background. Next, scale it accordingly. Finally, use the "Open as Layers" function to put a combatant in front of it.
2. If a combatant is in a pose you like, but is in front of a background, you need to use the Fuzzy Select tool (easily accessed by pressing "U") and the "By Colors" function in the select tab (Shift+O for easy access). You also need to go to the layer tab, scroll down to the transparency section, and press "Add Alpha Channel" to enable a blank background. Finally, use the Fuzzy Select and Select By Color in order to select areas (You can hold the "Shift" key to highlight multiple areas at once). Once the areas are selected, press "Delete" on your keyboard and you will have a gray/silver checkered background that indicates what is transparent. In case you make a mistake, use CTRL+Z to reverse an effect and CTRL+Y to remake an effect.
3. Sometimes, an area you want to highlight is connected to an area you don't want highlighted. To fix this, you'll need to color in that particular area. To do this, you have a variety of tools (Pencil, Paintbrush, Airbrush, Ink, Eraser, etc.) in your toolbox. You can adjust the colors and attributes of the tool in the "Adjustment" compartment.
4. Be creative and patient. It takes a lot of time, effort, trial, and error to do this and many other things.
5. Have fun.
Alright, time to get some obvious things out of the way:
1. You need to use a computer or laptop. As far as I know, there is no way to make titlecards with a phone, tablet, or gaming console.
2. You need to download GIMP.
3. You need to get some pictures.
4. You need to get one of the many DB templates.
Now, we'll start with a basic template, which is from
.First, you need to measure the empty white spaces (which should be 359 width x 375 height) and use the square select tool (which can be accessed by pressing "R" on your keyboard or by going to your toolbox and pressing the "Square Select" icon. The toolbox can be opened by pressing "CTRL+B" on your keyboard) to highlight the white area. Next, copy the area by right-clicking and selecting "copy" before closing the template. After that, paste the area onto the empty canvas. Finally, go to the file tab in the upper left corner and scroll down to "Export As" in order to save your area.
Onto the important part. In order to make pictures fit into the white box area, you need to open up your photos in GIMP. Once they are opened, go to the image tab and use the "Scale Image" function to resize your picture and the "Canvas Size" function to properly make the 359 x 375 size. After the picture looks right, go to "Export" in the file tab to save your picture's state.
The last part of this method is to make the pictures appear on the template. In order to do this, open up the same template and then go to the file tab to get to "Open as Layers". This allows the combatant pictures to be on top of the template. Once they are on, use the "Move" function (Press "M" for easy access) to place your combatants in the right spot. With everything done, make sure to go to the file tab and use "Export As" to save your photo.
The same steps can be used for
's 3-man template and big template; the pre-battle template, and the winner template, which are shown below:Next, I'll cover the more recent templates, which all use the same steps for each other.
To do these are pretty simple. Just use most of the same steps for the previous templates, except the measurements are different and both sides of the "VS" portion need to be accounted for. To do this, open up a regular 1v1 template. You need to measure half of the template's width and its full height by using the square select tool and highlighting from a corner of the template. Then, copy the area and close the template. Paste the area onto the blank canvas and use the "Export As" function. Now, do it again for the other side of template. It's recommended you name the area "Part 1" when copying the area for the "V" and the second area "Part 2" when copying the "S" area.
For combatants, you need to take the measurements of the half-areas and apply them to the picture. After sizing the picture appropriately, use "Open as Layers" in order to put a half-area over the combatant (Note: you may need to adjust the combatant photo itself to get a better position).
Finally, open a template, use "Open as Layers" to get both half-areas onto the template, then move them into position.
Now, for the multi-combatant templates, one may need to measure the width and height of the middle portions, but it's not as hard as it sounds. Just simply highlight the top middle area of one of the "VS" and use that to scroll to a satisfactory length that goes into the next "V".
TIME FOR EXTRA TIPS
1. If you want a background behind a combatant or for the area for a template, you need to get pictures for a background. Next, scale it accordingly. Finally, use the "Open as Layers" function to put a combatant in front of it.
2. If a combatant is in a pose you like, but is in front of a background, you need to use the Fuzzy Select tool (easily accessed by pressing "U") and the "By Colors" function in the select tab (Shift+O for easy access). You also need to go to the layer tab, scroll down to the transparency section, and press "Add Alpha Channel" to enable a blank background. Finally, use the Fuzzy Select and Select By Color in order to select areas (You can hold the "Shift" key to highlight multiple areas at once). Once the areas are selected, press "Delete" on your keyboard and you will have a gray/silver checkered background that indicates what is transparent. In case you make a mistake, use CTRL+Z to reverse an effect and CTRL+Y to remake an effect.
3. Sometimes, an area you want to highlight is connected to an area you don't want highlighted. To fix this, you'll need to color in that particular area. To do this, you have a variety of tools (Pencil, Paintbrush, Airbrush, Ink, Eraser, etc.) in your toolbox. You can adjust the colors and attributes of the tool in the "Adjustment" compartment.
4. Be creative and patient. It takes a lot of time, effort, trial, and error to do this and many other things.
5. Have fun.
New Project in the Works.....
I'll admit, it's been awhile since I've really typed out anything. True, there was the Jotaro vs. Kenshiro review, but I'd like to focus my energies on something more positive.
So, I suppose I should dive into a topic that really sheds a light on who I am, who I was, and who I want to be.
TOP 11 FAVORITE CHARACTERS
Why top 11?
Because I like the Nostalgia Critic's work. Yes, I know of the debacle that went down between ThatGuyWithTheGlasses staff and the guys in charge. That doesn't mean I can't like his work or take a page from it in the very least.
Anyways, I'll be talking about characters that you may be expecting and may not be expec
So, the Next Time on SA's Death Battle....
.....I'm incredibly salty.
Yeah, I'm not going to beat around the bush, it's Ken Masters of Street Fighter vs. Terry Bogard of Fatal Fury/King of Fighters. I've had that match sold to me by !OneMinuteMeleeMan (https://www.deviantart.com/oneminutemeleeman) for awhile now.....
And now that's an official Death Battle.....
I'm not backing off from doing it.
The thing is, no matter what, they are going to botch it. Their last SF vs. KoF was underwhelming, their last SF fight was abysmal, and now they've taken a really good match-up that I have no faith in them for portraying. So, I'm going to do my own rendition, since they'll likely skip over many facts, such as King of Fighters and
Coming this Halloween.....
There are many tales that haunt the soul. Some involve the spilling of blood and tearing of flesh. Others use the mystique of the unknown to horrify those who hear it. However, these accounts of myth are most frightening when combined with an ancient creature that was simply described as inhuman.
Monsters.
Among their ranks, certain beasts were legendary. Werewolves with their claws and feral instinct hunted the night for human prey. Creations such as Dr. Frankenstein's were blessed with unnatural intellect, but were shunned for their deviation from man. The Mummy, once a noble mortal, was cast into a coffin, only to be raised by mystical m
Death Battle: Ryu vs. Jin vs. Kyo Preview 2
"Mother! Mother! Please hang on, I'm almost there!" The young boy rushed to the burning house without hesitation. While he could not see far into the smoke, he did not waste a breath running straight into it.
Before long, he saw his mother crumpled underneath some furniture. Despite screaming for him to get away, he saw his mother hurt and he had to help. After lifting the cabinet obstructing her escape, the boy stayed by his mother's side as a crutch.
He was able to clear some of the fire before seeing a way out. Knowing he could make it, he hastened the pace.
Then, out of the corner of his eye, he saw it. Within the flames with them was
© 2015 - 2024 GokuvsSuperman117
Comments8
Join the community to add your comment. Already a deviant? Log In
Thank you so much! This will definitely help out.